The lens advice that gets real estate photographers fired
There’s a complaint that shows up over and over in real estate photography communities, and it’s not from photographers — it’s from the people paying them. A seller on one industry forum described the 16mm photos of their own house as looking “cartoon like.” Buyers leave the same feedback constantly: the home “looked better online than it did on site.” They show up to a viewing, walk into the living room, and it’s noticeably smaller than the wide-angle photos made it look.
That gap — between what the lens shows and what the room actually is — is the single biggest mistake people make when choosing the best lens for real estate photography. And it almost always traces back to one decision: buying a lens that’s too wide, and shooting it too wide.
So before recommending the best lens for real estate photography, this guide starts with the thing the top-ranked “15 best lenses” lists skip entirely: the widest lens is usually the wrong lens. Real estate photographers who’ve been doing this for years converge on a focal length that’s narrower, an aperture that’s slower, and a budget that’s lower than what beginners expect.
The focal length that actually works (it’s not 14mm)
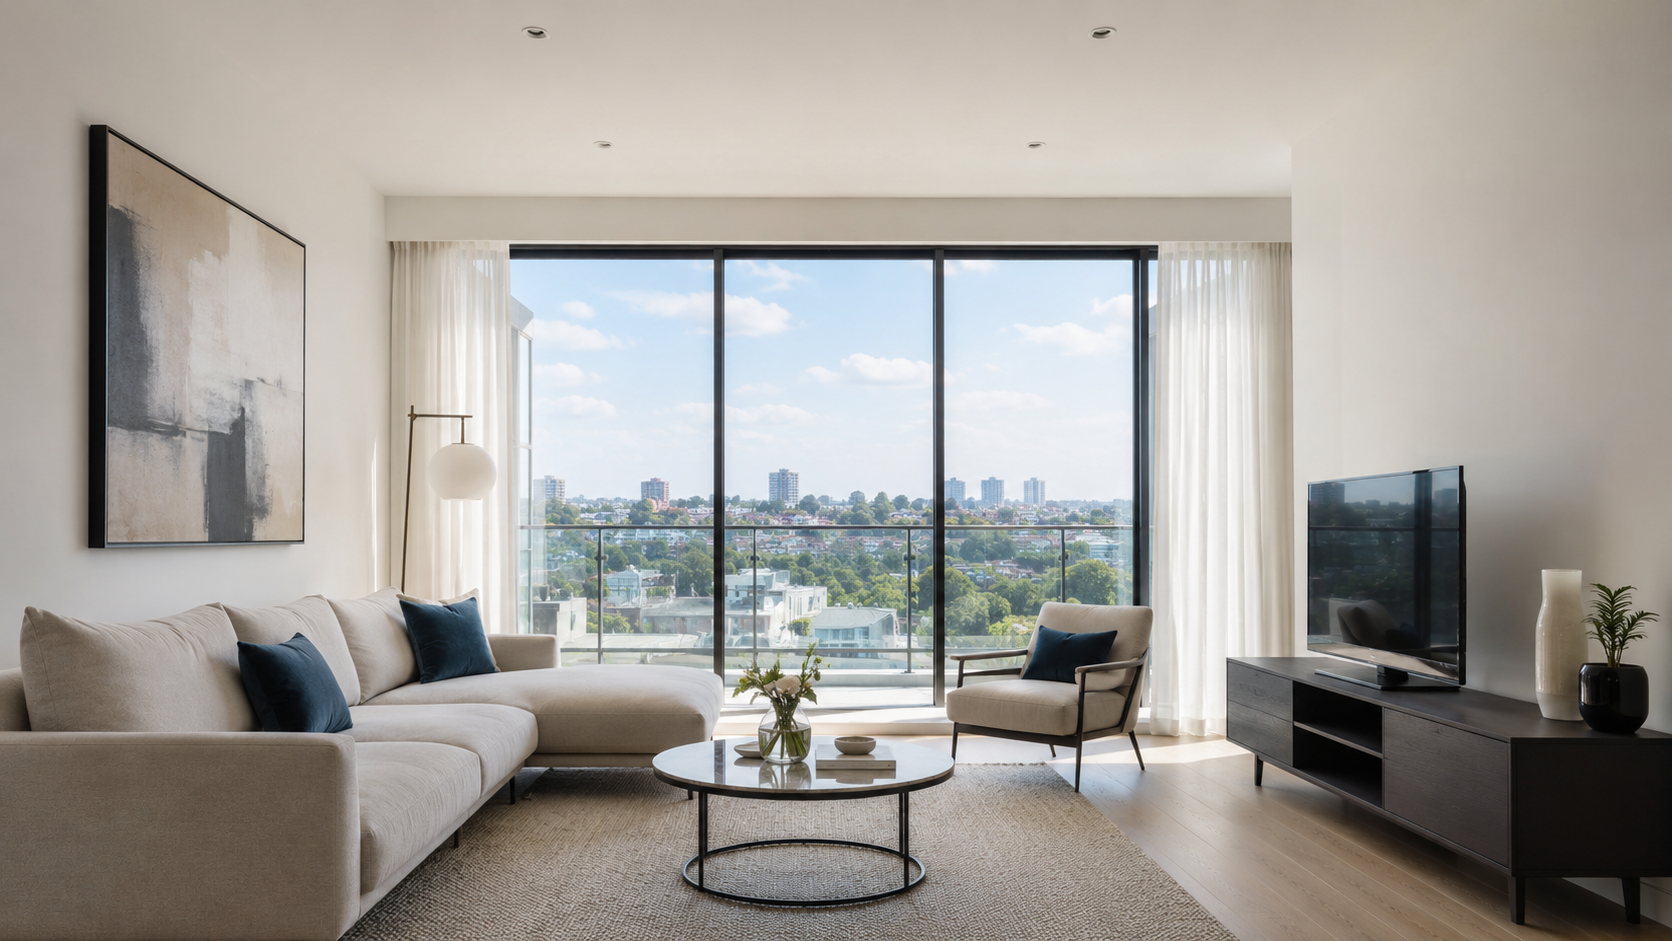
Here’s the number that matters and almost no listicle states plainly: the sweet spot for interior real estate is around 22-24mm equivalent. That’s the range that roughly matches how a room looks to the human eye standing in it.
Why this matters:
- Below ~22mm equivalent, negative feedback goes up. One veteran on Photography For Real Estate (PFRE) put it directly: “the farther you get below about 22mm effective, the more likely it is you will get negative feedback.” Not from other photographers — from clients and buyers.
- Below 14mm (full frame), straight lines start to curve and the space stops looking real. Several pro real estate services explicitly tell their photographers not to go below 14mm.
- The room looks bigger, but the listing feels dishonest. Real estate agents operate under codes of conduct that discourage misleading imagery. A photo that makes an 800 sq ft condo look like a loft creates a buyer who feels lied to — and an agent who stops hiring you.
The counterintuitive part: going wider feels more professional and more impressive when you’re looking at your own shots. It’s only when the buyer stands in the actual room that the cost shows up. One working photographer described a 24mm tilt-shift as “wide enough without being so wide that it causes spaces to feel vast” — that’s the goal, not maximum width.
Practical takeaway: You want a lens that can go to ~16mm for the occasional tight bathroom, but that you’ll shoot at 20-24mm equivalent for 90% of rooms. Restraint is the skill. As one PFRE contributor admitted, “restraint when using a wide-angle zoom is important and difficult” — the lens lets you go too wide, and the temptation is constant.
The distortion nobody explains correctly
Most lens guides mention “distortion” and move on. But there are two completely different kinds, and confusing them costs you money and ruins photos:

Barrel distortion — fixable
Straight lines (like door frames and counters) bow outward, especially at the edges. This is a property of the lens glass. It’s correctable in one click in Lightroom with a lens profile. Don’t pay extra to avoid barrel distortion — software handles it.
Perspective distortion — NOT fixable
This is the one that gets you. When a wide-angle lens is close to objects, it stretches the space and exaggerates whatever’s near the camera. That sofa in the foreground gets its legs stretched; the room gets pulled into an unnatural depth. This is physics, not a lens flaw — you cannot fully fix it in post. The only cures are: stand farther back, or use a less-wide focal length.
This is the distinction that separates photographers who understand their craft from those reading spec sheets. When a beginner blames their photos looking “off” on a cheap lens, the real culprit is usually perspective distortion from shooting too wide and too close — and no lens upgrade fixes that.
The aperture trap: why f/2.8 is wasted money here
This is where real estate photography differs from almost every other genre, and where beginners burn the most cash.
Wide-angle zooms come in two flavors: f/2.8 (expensive) and f/4 (much cheaper). Wedding and event shooters need f/2.8 for low light. Real estate photographers almost never use it.
The reason: interior shots need depth of field — the whole room sharp from foreground to back wall. That means shooting at f/8 to f/11, which is the genre’s sweet spot. At those apertures, an f/2.8 lens and an f/4 lens produce identical results. You paid an extra $700-$1000 for a maximum aperture you will literally never open to.
The pros are blunt about this. In an SLR Lounge roundup of seven working real estate photographers, one noted the Canon 16-35 f/4 is “just as good (if not slightly sharper)” as the f/2.8 version while costing far less. Multiple others independently said the same thing: f/2.8 isn’t necessary for typical real estate work, and the money is better spent on lighting.
If you take one budget tip from this article: buy the f/4 version of whatever wide zoom you choose, and put the saved money toward a flash and a sturdy tripod. Both improve your photos more than an aperture you’ll never use.
The Best Lens for Real Estate Photography by Budget
Generic “best lens” lists pretend everyone has the same camera and budget. Three honest paths:
Path 1: Side-hustle beginner on APS-C (tightest budget)
You have a crop-sensor camera (Canon Rebel, Sony a6000 series, etc.) and want to start taking real estate jobs without spending full-frame money.
- Canon EF-S 10-18mm (~$280) — the cheapest competent option. On APS-C, 10mm ≈ 16mm equivalent, 18mm ≈ 29mm. Covers the range you need.
- Tokina 11-16mm f/2.8 or Sigma 10-20mm — sharper alternatives, slightly more.
The honest catch: APS-C wide lenses are a riskier investment. The moment you upgrade to a full-frame body — and serious real estate photographers eventually do — these lenses become useless. You’ll re-buy glass. Factor that into the “cheap” price.
Path 2: Real estate agent shooting your own listings
You’re not a photographer, you just need usable photos of your own listings without hiring out.
- Whatever wide zoom fits your camera, in the f/4 (cheaper) version. Do not buy f/2.8.
- Do not buy anything below ~16mm equivalent. The wider you go, the more your listings look exaggerated — which is the opposite of what you want when the buyer shows up.
- Spend the saved money on a tripod (for sharp, level shots) before any lens upgrade.
Path 3: Photographer ready to invest in full-frame
You’re committed and shooting (or moving to) a full-frame body.
- Canon RF 15-35 / EF 16-35 f/4L, Sony 16-35 f/4, Nikon 14-30 f/4 — the workhorses. Five of seven pros in the SLR Lounge survey chose a Canon 16-35-class wide zoom. This is the industry’s largest common denominator.
- Canon 17-40 f/4L — one pro reported using it for “95% of jobs.” Older and cheaper, still excellent for stopped-down interior work.
- Again: f/4, not f/2.8. The pros who shoot this for a living are nearly unanimous.
Tilt-shift lenses: the expensive answer to a question you might not have
Tilt-shift lenses (like the Canon TS-E 17mm and 24mm) are the “professional” real estate lens everyone eventually hears about. They keep vertical lines perfectly straight without tilting the camera, which is genuinely useful.
Here’s the honest assessment most guides won’t give you:
- They cost $1,500-$2,000. That’s more than many people’s entire camera setup.
- For pure interior work, they’re not necessary. One real estate photography blog stated plainly that a tilt-shift is “NOT a recommended investment if you shoot solely interiors.” You can straighten vertical lines in Lightroom in seconds, for free.
- They earn their cost mainly on exteriors and high-end architecture — tall buildings, luxury listings where perfectly converging verticals matter.
- Rent before you buy. If you think you need one, rent it for a weekend first. Most people discover the Lightroom vertical-correction workflow does 90% of what they wanted, for $0.
The free alternative workflow: shoot at a restrained focal length (≥22mm equivalent), keep your camera level using the tripod’s bubble level or in-camera horizon, and correct any residual vertical convergence with the Transform panel in Lightroom. That covers the vast majority of interior real estate without a $2,000 lens.
Quick reference: lens by situation
| You are | Buy | Aperture | Skip | Budget reality |
|---|---|---|---|---|
| Beginner on APS-C | Canon 10-18 / Tokina 11-16 | f/4 fine | f/2.8 versions | Useless after full-frame upgrade |
| Agent shooting own listings | Any f/4 wide zoom ≥16mm equiv | f/4 | anything <16mm equiv | Tripod matters more than lens |
| Full-frame photographer | Canon/Sony/Nikon 16-35 f/4 | f/4 | f/2.8 ($700-1k waste) | Spend savings on flash |
| Shooting exteriors/luxury | TS-E 17/24 — rent first | n/a | buying before renting | $1,500-2,000 |
The four questions that pick your lens
- Crop sensor or full frame? APS-C: factor in that wide lenses won’t transfer when you upgrade. Full frame: get a 16-35-class f/4 zoom and you’re set for years.
- Will you shoot mostly interiors? Yes: you do not need a tilt-shift. Save the $2,000.
- Are you tempted by f/2.8? Don’t be. You’ll shoot at f/8-f/11. The extra stops are dead weight in this genre.
- What’s the widest you’ll actually use? Plan around 20-24mm equivalent for normal rooms, with ~16mm available for tight spaces. If you’re reaching for 14mm regularly, the problem is your shooting position, not your lens.
Bottom line
The best lens for real estate photography is almost never the widest or most expensive one or the most expensive. The working photographers who do this every day converge on a narrow consensus: a 16-35mm-class f/4 zoom (full frame) or a competent 10-18mm (APS-C), shot at 20-24mm equivalent and f/8-f/11.
What separates good real estate photos from bad ones isn’t an exotic lens — it’s restraint with the focal length, understanding that perspective distortion can’t be fixed in post, and putting your money into lighting instead of an aperture you’ll never open. Buy the f/4, skip the tilt-shift until you’ve rented one, and resist the urge to go wider than the room actually is.
The goal isn’t to make the house look bigger. It’s to make the buyer who shows up in person feel like the photos told the truth.
Sources for the real-world feedback and pro consensus in this guide: Photography For Real Estate (PFRE) community articles and reader comments, SLR Lounge’s survey of seven working real estate photographers, DPReview forums, and working real estate photographers including Larry Lohrman, Rick McEvoy, and DJZ Photography. Aperture and distortion guidance reflects the convergent recommendations of multiple full-time real estate photographers.